Challenge

chal-lenge: noun a calling to account or into question

Follow along as I challenge the tricks, tips, clever craft and decorating ideas and "simple" recipes that we clip, bookmark, and "pin" for trial at a later date.

Are they really worth the effort? Time (and I) will tell!


Sunday, April 22, 2012

Old Books

I don’t know what it is about old books that attract me. Maybe it’s the worn covers in a variety of colors that feel so soft in my hands. Or maybe it’s the interesting topics and titles like “The Mind of the Adolescent Girl” and “Commodore Hornblower”. Maybe it’s the nostalgia of an old text book like the Dick and Jane books in elementary school. Anytime I stop at a yard sale, attend a book sale or visit an antique shop, I always check out the old books. I do actually read some of them but mostly I like to decorate with them. I love to see stacks of old books on desks and shelves. The sight of them is so warm and inviting.

Old books are receiving a new life these days in the crafting world. Maybe it’s all part of the repurposing movement. A local bookstore is sponsoring a book crafting contest (www.stompinggrounds.com). I can’t wait to stop by and check out the entries. In anticipation of the event, the library held a book crafting workshop. The session was unstructured which really freaked me out, but I managed to pull myself together and decorate a little box. It was fun to see the projects the other participants created.

My interest piqued, I started to search online for more book crafting ideas. That’s when I came across the instructions for a book vase. It looked pretty simple and I decided to give it a try. I had just dropped off a load of books for the library book sale but another look around turned up a romance novel that was passed on to me. I really have to think hard before I choose a book to “use creatively”. I’m sorry, any book entitled “The Summer I Dared”, deserves to be cut up and it was an easy choice.

The instructions are simple. Cut your design out of a piece of cardboard. Transfer your design on the pages, cutting out three or four pages at a time. The instructions said to use a craft knife but I found that scissors worked much better. Once all the pages are cut, it’s time to cut off the cover. Make sure you leave the spine of the book intact. Glue the first and last page together and separate all the pages. Voila! You have a book vase! The center is pretty small, but a stem or two fit quite nicely in the center.

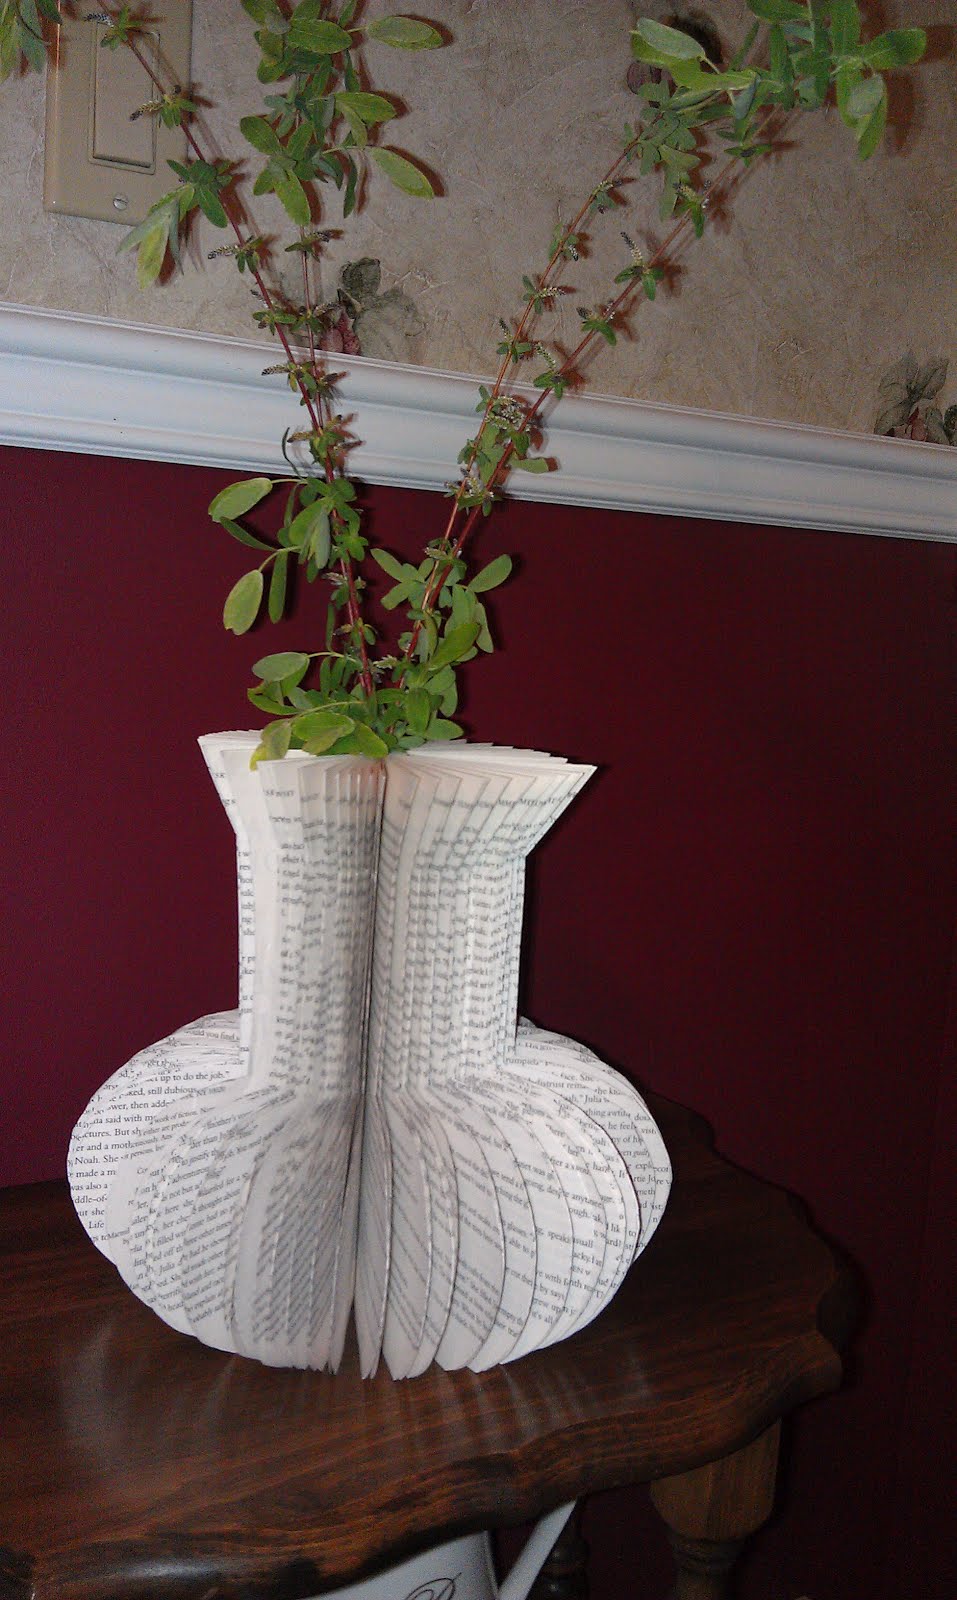
This was a fun little project and only took about an hour. A collection of a few different designs would make a nice grouping on a table. You can be sure I’ll be looking for similar titles at this year’s book sale to increase my collection.

Saturday, April 7, 2012

...while the blender was out


I had some broccoli languishing in my refrigerator this week-end and it inspired me to make some cream of broccoli soup. I don’t use my blender very often so I keep it in a box in the basement. This helps free up valuable space in my kitchen. My basement…well on occasion it does become a dumping ground for “stuff”. Long story short, I headed down to excavate it to cream up my soup.

While I was moving things around to uncover the blender, I came across a huge bag of paper scraps and my paper making supplies. I was reminded of a project on my list that I hadn’t gotten to yet: paper bowls. So, while the blender was out, I decided to make one. I started by tearing little scraps of blue paper and placing them in the blender with some water to make a pulp.

I decided to use a pan bottom as my mold and sprayed it with cooking spray in lieu of official mold release which I haven’t been able to find. I used a too much water to make my pulp and had to wring it out a bit before applying it to the pan bottom. The pulp went on fairly easily and before long I had a nice even base. Now it was time to dry it all out. I set the oven on low and put the pan with its paper hat in to dry. I was a little worried about starting a fire so I only left the oven on for about a half hour. By morning, the bowl was dry enough to remove from the mold, which it did beautifully.

Hmmm, the bowl was papery and weak and not good for any purpose as far as I could tell. It held its form well but was very fragile and had to be handled with extreme care or it would tear apart. While gazing at the bowl, I began to envision the sky blue bowl as a base for another paper project I had hanging around. Out came the mulberry paper and water color paints.
This technique is called washi chigiri-e. Paper shapes are torn from the mulberry paper and sprayed with a little water. A brush dipped in water color paint is then touched to the edge of the shape and the paint seeps into the paper. I chose to create a sunflower to place in the bowl.

I thought it only fair to showcase a failure as well as my successes. So here it is in all its lame glory, a stupid paper bowl serving no purpose whatsoever. I’m not sure what I ever thought I would do with a paper bowl but at least it’s off my list of things to do. I’ll keep thinking on it but for now I’m putting it back in my bag of scrap paper to recycle into some other project someday. By the way, the soup was delicious!